How to Create Canvas Components in React?
•3 min read
- Languages, frameworks, tools, and trends

Canvas is a powerful HTML5 element that enables you to draw graphics and animations on a webpage using JavaScript. In this blog post, we will discuss how to create a canvas component in React.
React is a popular JavaScript library for building user interfaces. It provides a declarative way of building components that can be composed to create complex user interfaces. React works well with canvas, and React developers can create canvas components, which can be used in our React applications.
Steps to create canvas component in React
Step 1: Setting up a new React project
The first step is to set up a new React project. You can do this by running the following command in your terminal:
This command will create a new React project with the name "my-app".
Once the project is set up, you can open it in your favorite code editor and run the following command in your terminal to start the development server:
This command will start the development server, and you can view the React application in your browser by navigating to
Step 2: Creating a canvas component
The next step is to create a canvas component in React. We will create a new file named Canvas.js in the src directory and add the following code:
In this code, we import the useRef and useEffect hooks from React. We create a functional component named Canvas that returns a canvas element. We use the useRef hook to create a reference to the canvas element, and the useEffect hook to run our drawing code when the component mounts.
Step 3: Drawing on the canvas
Now that we have our canvas component set up, we can start drawing on it. We will use the 2D context of the canvas element to draw on it.
In the useEffect hook, we can add our drawing code. For example, let's draw a red rectangle on the canvas:
In this code, we set the fill style to red and draw a rectangle with the fillRect method. The rectangle will fill the entire canvas.
Step 4: Updating the canvas
To update the canvas, we need to add an event listener to it. For example, let's add an event listener to the canvas that changes the color of the rectangle when the user clicks on it:
In this code, we add a click event listener to the canvas that changes the fill style to blue and redraws the rectangle with the fillRect method.
Step 5: Cleaning up the canvas
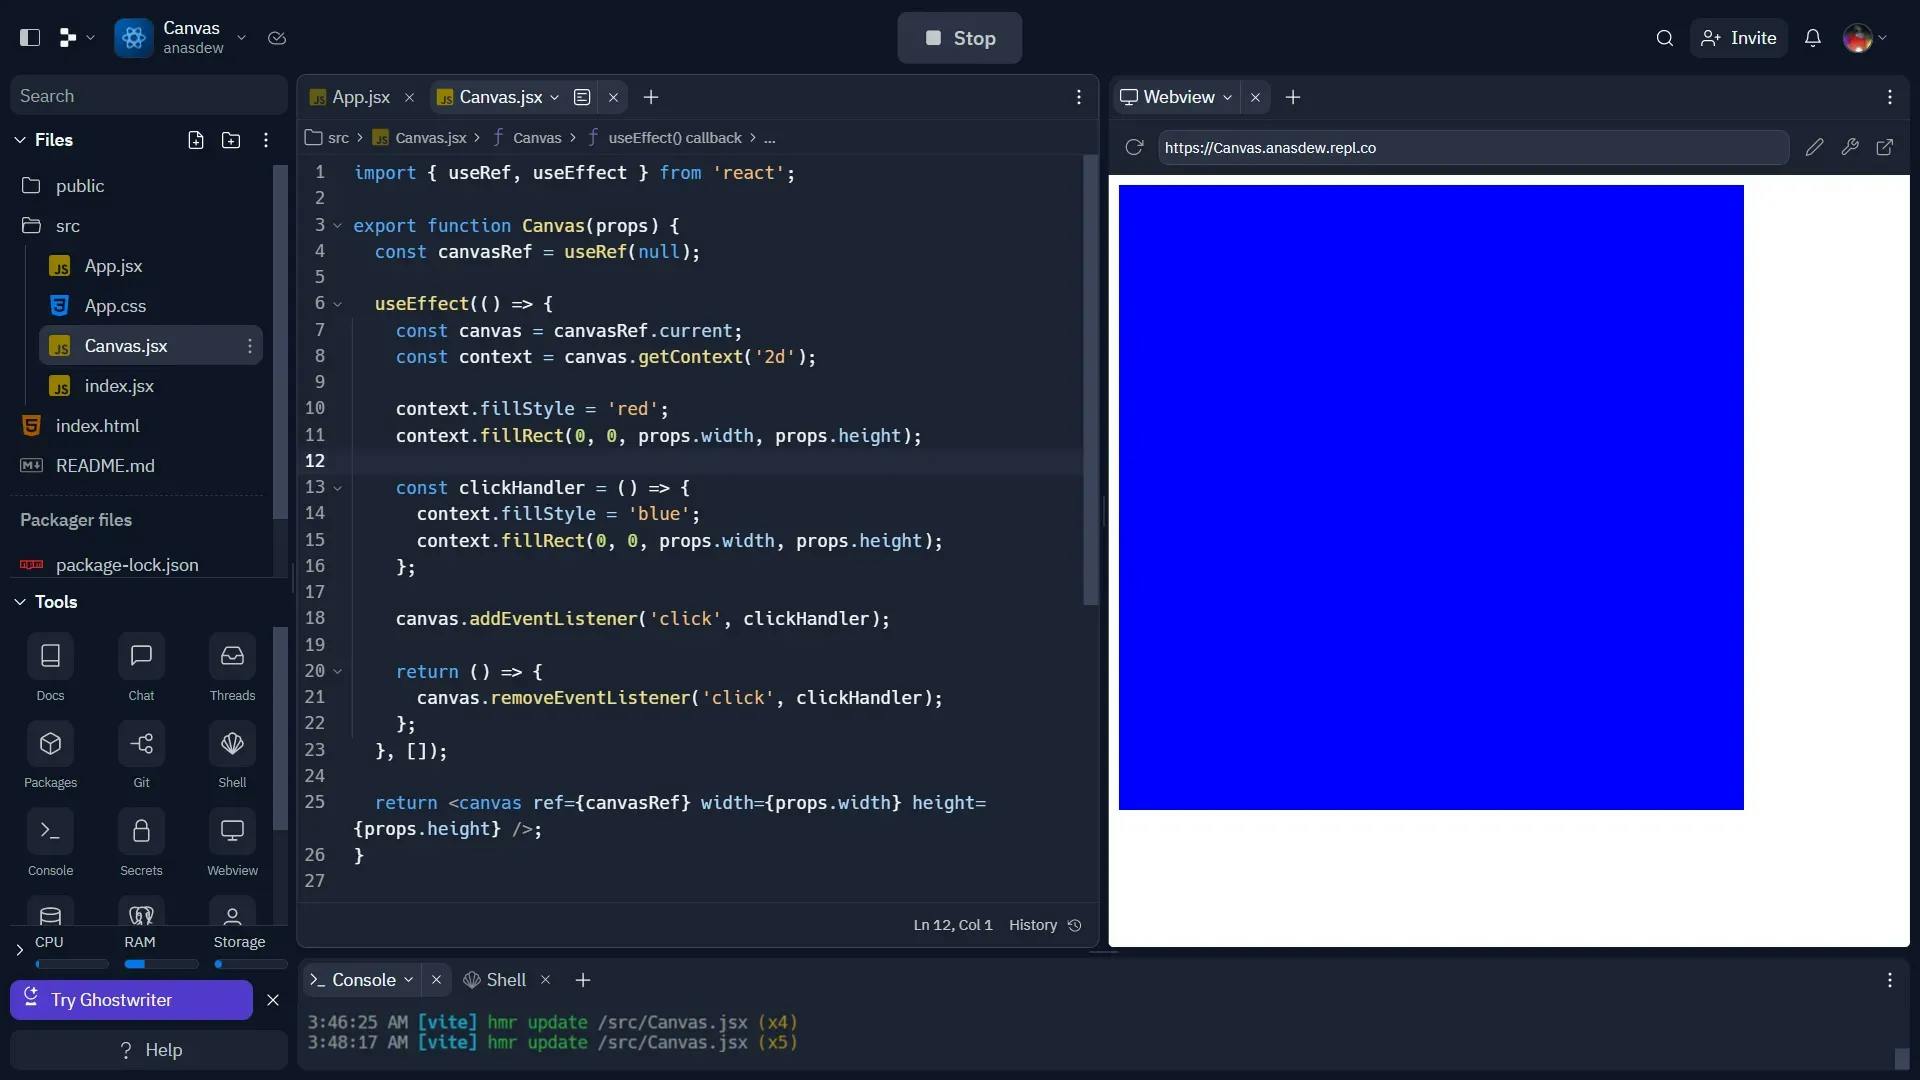
To clean up the canvas when the component unmounts, we need to remove the event listener. We can do this by returning a function from the useEffect hook that removes the event listener:
In the above code, we define the clickHandler function separately and add it as the event listener. We return a function from the useEffect hook that removes the event listener using the removeEventListener method.
Step 6: Adding props to the canvas component
We can make our canvas component more flexible by adding props that allow us to customize the canvas. For example, we can add props for the width and height of the canvas:
In this code, we add width and height props to the canvas component, and we pass them to the canvas element as attributes. This allows us to customize the size of the canvas.
Step 7: Using the canvas component in our application
Now that we have our canvas component, we can use it in our React application. Let's add the canvas component to the App component in the src/App.js file:
We import the canvas component in this code and add it to the App component with the desired width and height props.
Final output
Conclusion
We have discussed how to create a canvas component in React. We went through the steps to set up a new React project, create a canvas component, draw on the canvas, update the canvas, clean up the canvas, add props to the canvas component, and use the canvas component in our application.
Canvas is a powerful tool for creating graphics and animations on the web, and React provides a declarative way of building user interfaces. By combining these technologies, we can create powerful and flexible applications that utilize the full potential of the web platform.

Author
Anas Raza
First-generation solopreneur and full-stack engineer with a passion for building innovative solutions.